
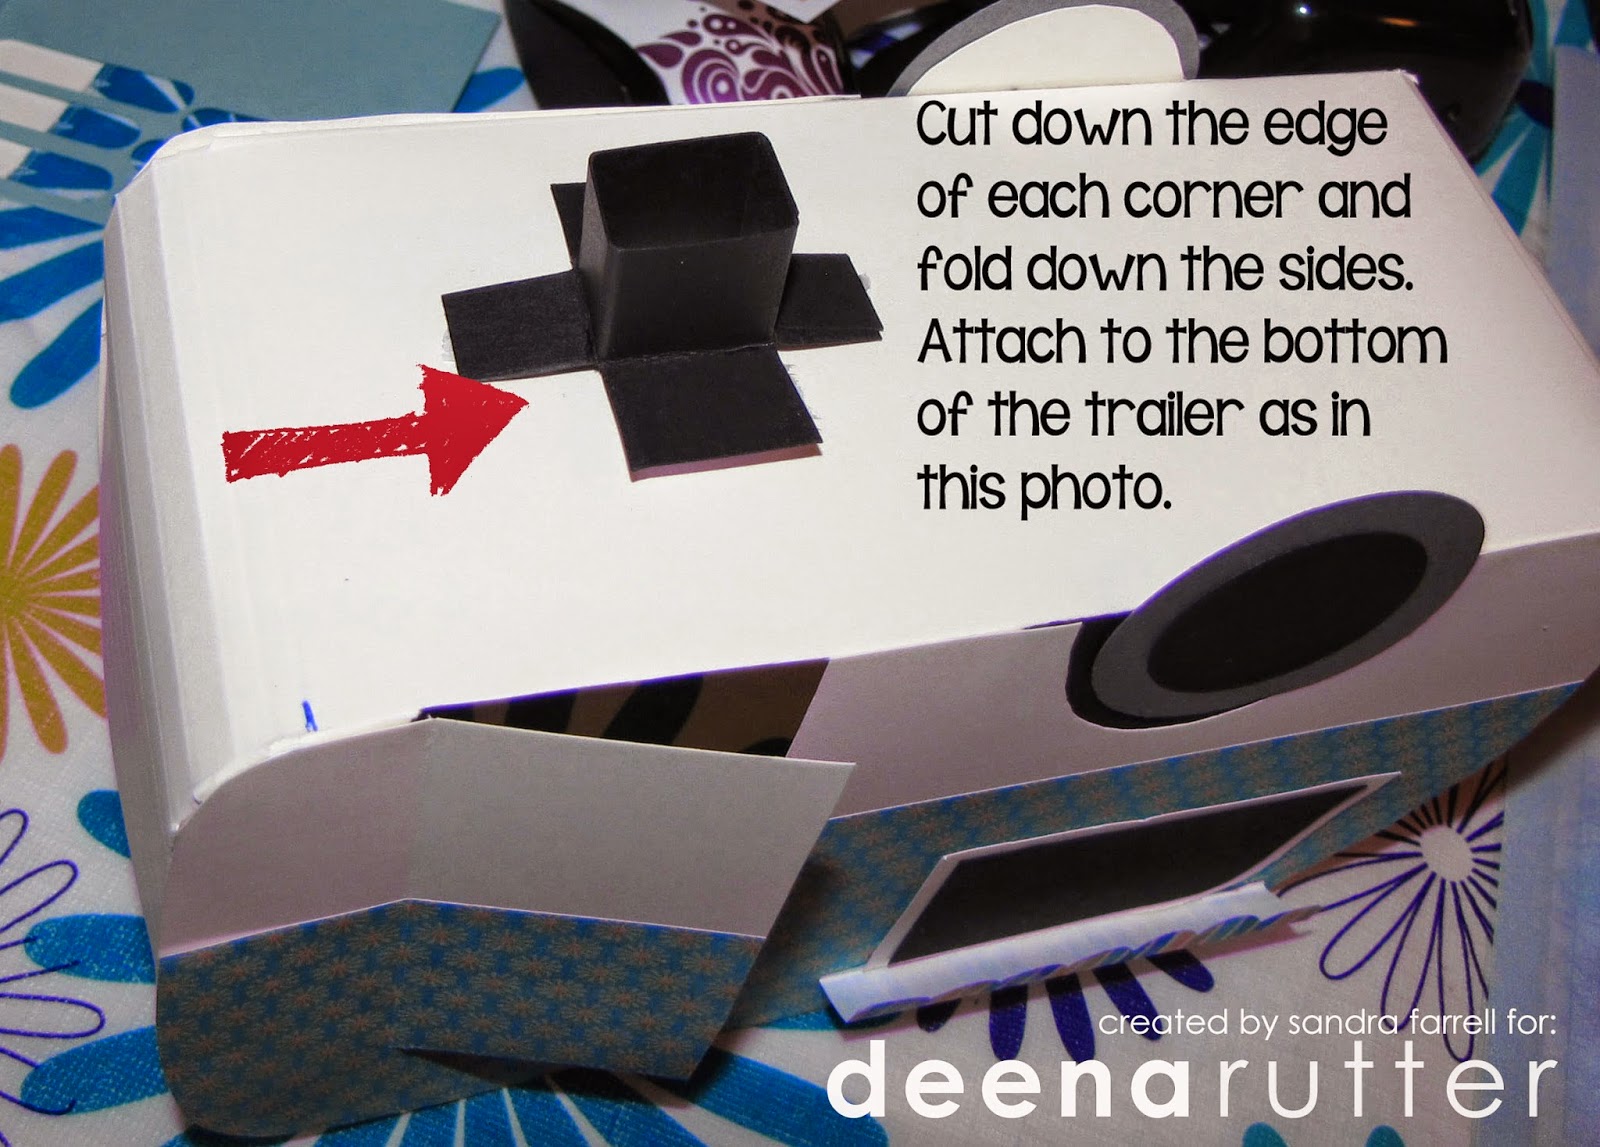
When I first saw Deena Rutter's cutting files for the Scenic Route line, I knew that I wanted to turn this little camper into a 3D project.

So I've been planning this little project for a few months now. And although I love my silhouette machine dearly, it has been a while since I last used it. So when I sat down to create this little cutie last week, I could not find the power cord for my Silhouette. So after a bit of tears and screaming, I pulled it together and decided to create a tutorial without a cutting machine - GASP! I know, just a bit revolutionary in today's world right? So how to do this without a cutting machine??? Well, it's not as difficult as you might think. You do need a good pair of scissors though...
SUPPLIES
- I used Deena's Scenic Route Cutting Files Vol. 1, and the Every Little Bit Daydream Paper Pack
- Card Stock - Black, Grey, and Vanilla
- White printer paper
- Craft Scissors,
- Paper Cutter
- Ruler
- Pencil
DIRECTIONS:
1. So the first thing I did was to take the jpeg files of this cute little camping trailer, and put them in photoshop to create a photo like below, and then I printed it out on white paper.


4 comments:
LOVE LOVE LOVE!
This is adorable!!!
Gracias por compartir
We had a camper like this(a Shasta in 1960s...it was light blue and white). Love, love, love this...definitely will try this over the winter...thank you for making my day!
Post a Comment